

How to Use Silver Ink for Screen Printing?
Silver Ink For Screen Printing can turn a dark garment into a crisp, reflective design, but the result depends on more than the ink’s shine. Mesh choice, stencil thickness, squeegee pressure, and curing all affect how the metallic particles sit on the fabric. A print can look bright on the screen and dull on the shirt. Small tests matter.
Before production, stir the ink thoroughly and check the manufacturer’s instructions for mesh range, additives, and curing conditions. Print a sample on the actual garment, then inspect it under both bright light and ordinary room lighting. Feel the surface, too. A heavy deposit may appear striking, yet crack or feel stiff after curing. Let the test print cool before judging it; metallic finishes can change as the ink settles.
This guide covers preparation, screen setup, printing technique, curing, and troubleshooting. It also makes room for a useful truth: shop conditions vary, and one successful setting is not a guarantee for every fabric or press. Keep notes. Adjust one variable at a time. Since no verifiable source for a named specialist’s quotation was provided, this introduction avoids attributing an invented statement to an expert. A sourced quotation can be added once its wording and attribution are confirmed.
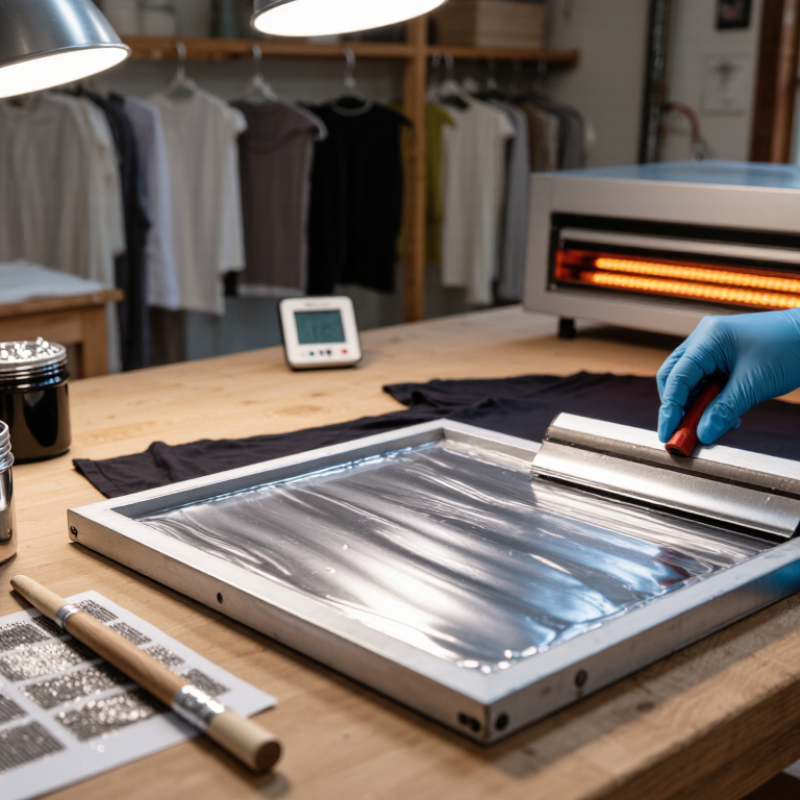
Understanding Silver Ink and Its Screen Printing Properties
Silver screen-printing ink usually gets its metallic look from reflective particles suspended in a binder. It is not chrome. The particles catch light differently as the fabric moves, so the print may look brighter from one angle than another. On dark cloth, silver often appears more defined, while a pale underbase can change its tone and feel.
The ink’s behavior depends on particle size, binder, and the mesh opening. A mesh that is too fine may hold back larger particles or make printing inconsistent. A very open mesh can deposit more ink, but may soften small details. Check the ink supplier’s mesh and curing guidance, then test on the actual fabric. A small test print can reveal surprises.
Keep the ink gently mixed; aggressive stirring may affect its metallic appearance. Use steady squeegee pressure and watch for buildup around fine lines. Silver can also feel heavier than expected, especially when the deposit is thick. I sometimes think a brighter print needs more ink, but that can flatten detail and reduce flexibility. Let the sample cure as directed, then inspect its surface, stretch, and wash performance before choosing a production setup.
How to Use Silver Ink for Screen Printing? - Understanding Silver Ink and Its Screen Printing Properties
| Property or Step | Typical Characteristics | Screen-Printing Consideration | Practical Check |
|---|---|---|---|
| Ink type | Silver-effect inks may be plastisol, water-based, or solvent-based. The silver appearance usually comes from metallic-effect pigment rather than solid silver. | Curing, suitable substrates, cleanup, and handling depend on the ink chemistry. | Confirm the ink is formulated for the intended fabric or surface and read its technical data sheet. |
| Mesh selection | Coarser mesh is commonly used for metallic inks with larger pigment particles; finer mesh may be suitable for fine-particle formulations. | A mesh that is too fine can restrict ink and pigment transfer, reducing coverage or causing inconsistent deposits. | Start with the mesh range recommended by the ink maker and test a print before production. |
| Stencil and detail | Metallic particles can make very small details and narrow gaps harder to reproduce than with a smooth, non-metallic ink. | Fine lines may fill in or print unevenly if the particle size, mesh, and stencil opening are not compatible. | Use a test screen for delicate artwork; simplify fine details if edges appear clogged or broken. |
| Ink deposit and coverage | A sufficiently even deposit is important for a consistent metallic look. Fabric texture and ink formulation affect opacity and surface appearance. | Excessive or uneven deposit can reduce detail, feel heavy on fabric, or produce inconsistent sheen. | Check coverage, hand feel, and appearance on the actual substrate under the intended lighting. |
| Mixing and handling | Metallic pigments can settle during storage or production, so some products require thorough mixing before use and periodic mixing during a run. | Inconsistent mixing can change the appearance from print to print. Additives should only be used when approved for that ink. | Follow the product instructions for mixing, working time, thinning, and screen cleanup. |
| Squeegee and print stroke | A consistent squeegee angle, pressure, and stroke speed help maintain an even ink deposit. | Changing pressure or making repeated strokes without testing can alter coverage and the metallic finish. | Keep print settings consistent and adjust one variable at a time during setup. |
| Curing or drying | Required conditions vary by ink chemistry and product. Some inks cure with heat; others dry or cure through a different process. | A dryer’s displayed setting is not necessarily the temperature reached by the ink film or substrate. | Follow the specified cure or drying instructions and verify the ink film or print is fully cured using the recommended method. |
| Wash and durability testing | Durability depends on the ink, substrate, print deposit, and correct curing or drying. | A print that looks dry may not have reached its required cure, so appearance alone is not proof of durability. | Test a sample using the relevant care or performance procedure before approving a production run. |
| Finish and lighting | Metallic appearance can look different depending on viewing angle, lighting, fabric color, and surface texture. | A sample viewed under one light source may not match its appearance in another environment. | Review approved samples under the lighting conditions in which the finished item will be used. |
Note: Mesh choice, print settings, and cure requirements are product-specific. Always test the ink on the intended substrate and follow the manufacturer’s technical data and safety instructions.






Stay Connected
Sign up today to keep up with the newest information from one of the Southeast’s leading suppliers of fluid handling equipment!